
(In Japanese here)

RomoCart is the third in our series of home hack projects (Tempescope, Moving Windows, Myra) to make your living room a more exciting place to be in.
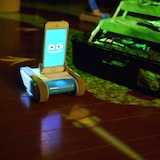
Here, we used Romo, an educational robot toy that can be controlled using an iPhone app, to recreate the world of Mario Kart in your living room.
By combining Romo and projection mapping, RomoCart lets you race robots around a race course generated in your living room, whilst firing missiles and throwing bananas at opponents.
How it works
 |
| The RGBD camera finds obstacles, |
 |
| and generates a circuit that best fits the open space. |
 |
| We gave Romos some exciting smoke trails... |
 |
| Various items and abilities exist, like the "accelerate" item which makes the player move twice as fast. |
 |
| Flood the floor with bananas! |
and fire missiles at your friends.
 |
| Unleash missiles in your living room! |
 |
| In RomoCart, even your mum can join in as a Thwomp |
 |
| A teddy bear acts as a rotating turret. |
and finally, when you cross the finish line, you're welcomed by fireworks.
 |
The System
RomoCart uses 3 pieces of hardware:
Romo

Buy them from Amazon.
Romos have two caterpillar tracks that you can control independently, thus letting you program a "moving iPhone" very easily.
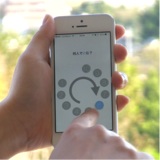
For RomoCart, we built an app "Romote" that receives and executes commands from a PC wirelessly.
We use a gamepad to let users control the Romo, but override their movements with specific actions when, for example, the Romo gets hit by a missile.
We thus use Romo's as an "intelligent radio controlled car".
Romos have two caterpillar tracks that you can control independently, thus letting you program a "moving iPhone" very easily.
For RomoCart, we built an app "Romote" that receives and executes commands from a PC wirelessly.
We use a gamepad to let users control the Romo, but override their movements with specific actions when, for example, the Romo gets hit by a missile.
We thus use Romo's as an "intelligent radio controlled car".
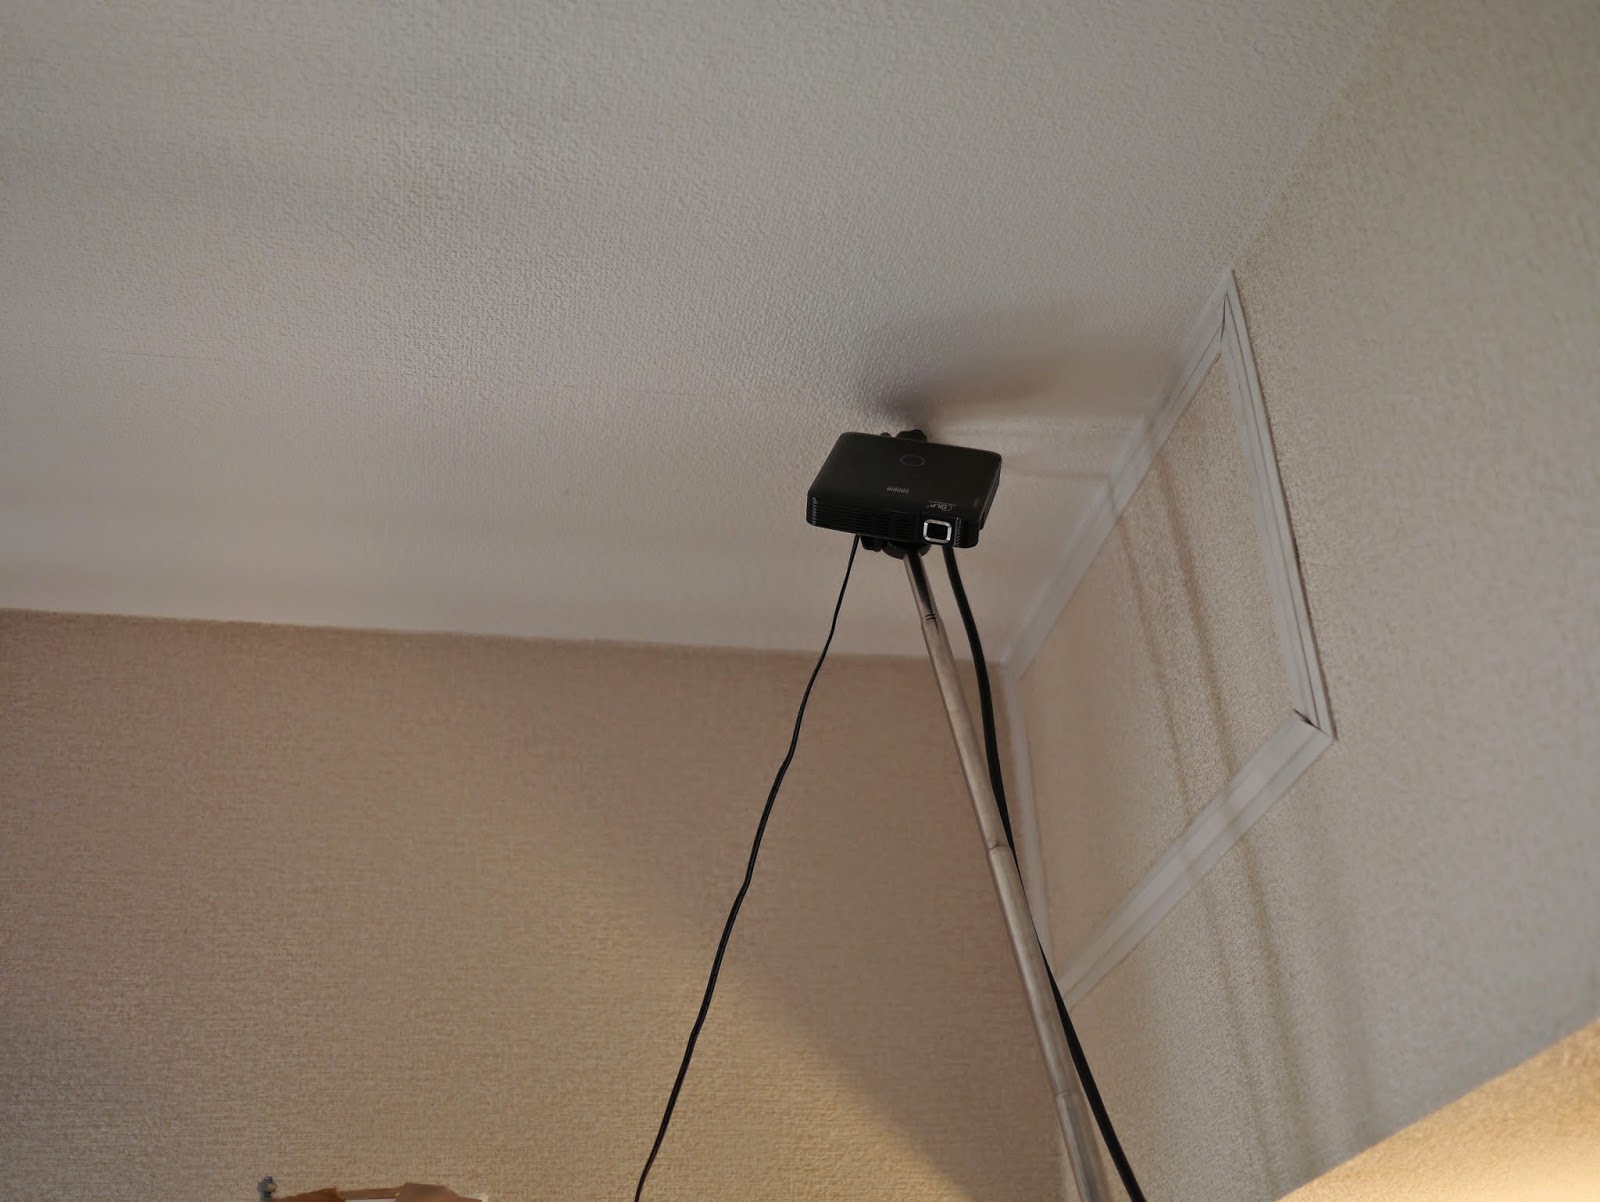
RGBD Camera

Hang an RGBD camera (like Kinect, or Xtion Pro Live) from your ceiling, to track objects, and auto-generate circuits.
(We recommend Xtion, as it's lighter and works on USB bus power)
(We recommend Xtion, as it's lighter and works on USB bus power)
Projector
Any projector will do, but you need to be able to get your projector as high up as possible to project onto a sizeable area of your living room.
We used a pico projector "Sanwa PRJ-3", because it's cheap, fairly bright, and can be attached to common tripods, but short throws should work equally well.
In RomoCart, a single Java program receives the depth feed from Xtion, finds objects (including Romo), renders the game environment, and projects it onto the floor.
Algorithms
How do you calibrate the Xtion against projectors?
You want to project the game environment to the correct position with respect to the Xtion's coordinate system. You need to calibrate the view projection matrix for the projector.
This is a useful link I used to do this.
I'll release the code when I have the time.
This is a useful link I used to do this.
I'll release the code when I have the time.
How do you auto-generate the circuit from obstacles?
There are many ways of going about this.
I defined a "good" course to be one that vaguely follows the borders of obstacles, while not actually going through them.
I therefore generate a Voronoi diagram using obstacle borders as control points, and find the longest loop.
1:15 in the video should give you a good idea of how it works.
(If you're interested, give me a message)
How do you track the positions of Romo?
We know the input from the gamepad, so we can use that as prior knowledge of Romo's movement. We calculate a probability for each object in the view being our Romo (using concordance with the movement given from the gamepad, as well as the object's size and height) to find and track our Romo.
This may be a good place to use particle filters, but things worked pretty well using a fairly dumb tracker.
This may be a good place to use particle filters, but things worked pretty well using a fairly dumb tracker.
Summary
We presented a system that uses projection mapping and Romo to turn a portion of your room into a Mario Kart-like world.
We showed that by combining very simple hardware and some common tracking algorithms, we can hack our house to be part of an exciting game environment.
All of the source code will be released when we find the time.
We hope this work will persuade others to follow and start similar projects that integrate the real environment with games.


